import { LocalNotifications } from '@capacitor/local-notifications';
LocalNotifications.schedule({
notifications: [
{
title: "On sale",
body: "Widgets are 10% off. Act fast!",
id: 1,
schedule: { at: new Date(Date.now() + 1000 * 5) },
sound: null,
attachments: null,
actionTypeId: "",
extra: null
}
]
});Webアプリをクロスプラットフォームに展開。
Capacitorはどんなウェブアプリでもネイティブアプリにすることができるので iOS、Android、ウェブを横断して同じコードで一つのアプリを 走らせることができます。
Cordovaからの移行 ->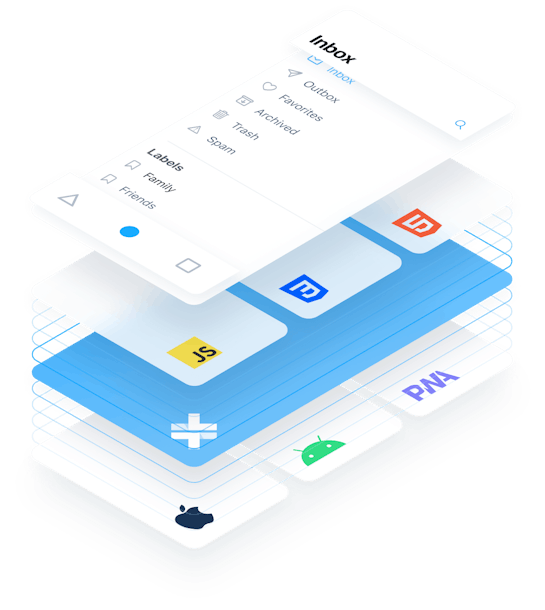
はじめるのは簡単です。
Capacitorを既存アプリに導入します。
npm install @capacitor/cli @capacitor/core
npx cap initターゲットにするネイティブプラットフォームをインストールします。
npm install @capacitor/ios @capacitor/android
npx cap add ios
npx cap add androidネイティブとウェブの両方でAPIにアクセスして、機能を拡張します。
import { Geolocation } from '@capacitor/geolocation';

// get the users current position
const position = await Geolocation.getCurrentPosition();

// grab latitude & longitude
const latitude = position.coords.latitude;
const longitude = position.coords.longitude;
import { Camera, CameraResultType } from '@capacitor/camera';
// Take a picture or video, or load from the library
const picture = await Camera.getPicture({
resultType: CameraResultType.Uri
});import Foundation
import Capacitor
// Custom platform code, easily exposed to your web app
// through Capacitor plugin APIs. Build APIs that work
// across iOS, Android, and the web!
@objc(MyAwesomePlugin)
public class MyAwesomePlugin: CAPPlugin {
@objc public func doNative(_ call: CAPPluginCall) {
let alert = UIAlertController(title: "Title", message: "Please Select an Option", preferredStyle: .actionSheet)
// ....
}
}

Ship cross-platform mobile apps 10X faster. We wrote a free guide on when and why to use Capacitor to build cross-platform apps.
Webアプリをネイティブ機能に接続
ユニバーサルアプリ
iOS、Android、およびProgressive Web Appsで同じように動作する Webベースのアプリケーションを構築します。

ネイティブアクセス
各プラットフォームで完全なネイティブSDKにアクセスし、 アプリストア(およびWeb)に簡単にデプロイします。

ネイティブPWA
簡単に利用できるプラグインAPIでカスタムのネイティブ機能を追加するか、 既存のCordovaプラグインを互換性レイヤーで使用します。
クロスプラットフォームのコアネイティブ機能
Explore APIs->カメラ
写真をキャプチャして保存し、フォーカスやホワイトバランスなどのハードウェアパラメータを構成します。
ファイルシステム
ネイティブファイルシステムにアクセスすることで、ユーザーが必要とするアセット、ドキュメント、その他のデータを保存して読み込みます。
ジオロケーション
現在のデバイスの場所をポーリングしたり、位置情報の更新を監視することで、位置認識アプリを構築します。
加速度計
デバイスの加速度センサーにアクセスして、3D空間でのデバイスの動きの変化に対応します。
通知
ローカル通知とサーバープッシュ通知を送信・応答するアプリケーションを構築します。
ネットワーク
ネットワーク接続と機能の変更を監視して、復元できるオフラインアプリを構築します。
Haptics
Hapticsハードウェアを使用して、ユーザーアクションの物理的なフィードバックを提供します
あなた自身のPlugin
アプリをカスタムネイティブコードとウェブコードで拡張して、プラットフォーム間で一貫したAPIを提供します。
自分で選んだフレームワーク
Capacitorを既存のWebアプリプロジェクト、フレームワーク、またはライブラリに導入します。 既存のReact、Angular、Svelte、Vue(またはお好みのWebフレームワーク)プロジェクトを ネイティブモバイルに変換し、 任意のUIライブラリを使うことができます。
What people are saying about Capacitor.
Austin Howard
@a_howard8
I’m reallllyyyy digging capacitor 👀
Angular
@angular
Did you know @capacitorjs shows how to give your #Angular app access to mobile APIs and a presence in app stores?
scriptkitty
@thr0wsException
I'm pretty hyped to be honest, from what I've seen so far this will be another major step for establishing web technology as the go-to method for developing cross platform apps ♥
Adeniyi Tolulope
@tolutronics
@capacitorjs has been a great companion this year... with realtime updates.
Guillermo Rauch
@rauchg
Amazing that this is @vercel Next.js + @tailwindcss + @capacitorjs 🤯
Carlos Martinez
@cmartineztech
Yes, It works 😱 deep linking and google native authentication in iOS @capacitorjs
Greg Marine
@gregmarine
One of the nice things about Capacitor is that you don’t have to use Ionic. I personally love Ionic and use it for UI components. But it isn’t required for Capacitor 😊
Jacob Clark
@imjacobclark
We blogged about how we use Capacitor to build our 4 Children’s apps at the @BBC
Dayana Jabif
@dayujabif
I still can't believe how easy is to turn an @Ionicframework app into a native iOS app using @capacitorjs 🤯
Leo
@creativiii
I've tried React Native but coming from web dev the DX is such a step down. Give @capacitorjs a go if you're building apps 👀
Tim S
@tdawgpharaoh
I am asking myself, how did I not hear about @capacitorjs until recently. Very nice.
Daniel Rodrigues
@inspire_rd
Tried out @capacitorjs soon after it went stable - amazing! Simple & straight forward.
👋
The Capacitor Community growing. Connect with us and say Hello.
Supercharge your app with enterprise-grade solutions.

Built for enterprise. Capacitor and Ionic’s full ecosystem of solutions address the performance, security, and deployment needs of enterprise teams building critical apps.
Ready to start building?
Dive in and create your first Capacitor project today
