Custom ViewController
With Capacitor 3.0, you can now subclass CAPBridgeViewController within your application. Most applications do not need this feature but it provides a supported mechanism for addressing some unusual use-cases.
When to create a subclass
Some examples of when subclassing would be necessary are overriding Capacitor's configuration values at run-time, changing the properties of the WKWebViewConfiguration, subsituting a custom subclass of WKWebView for Capacitor to use, integrating a 3rd party SDK that suggests adding code to viewDidLoad(), or manipulating native views before they appear onscreen.
If you do need to create a custom subclass, there are a couple of steps to get started.
Create MyViewController.swift
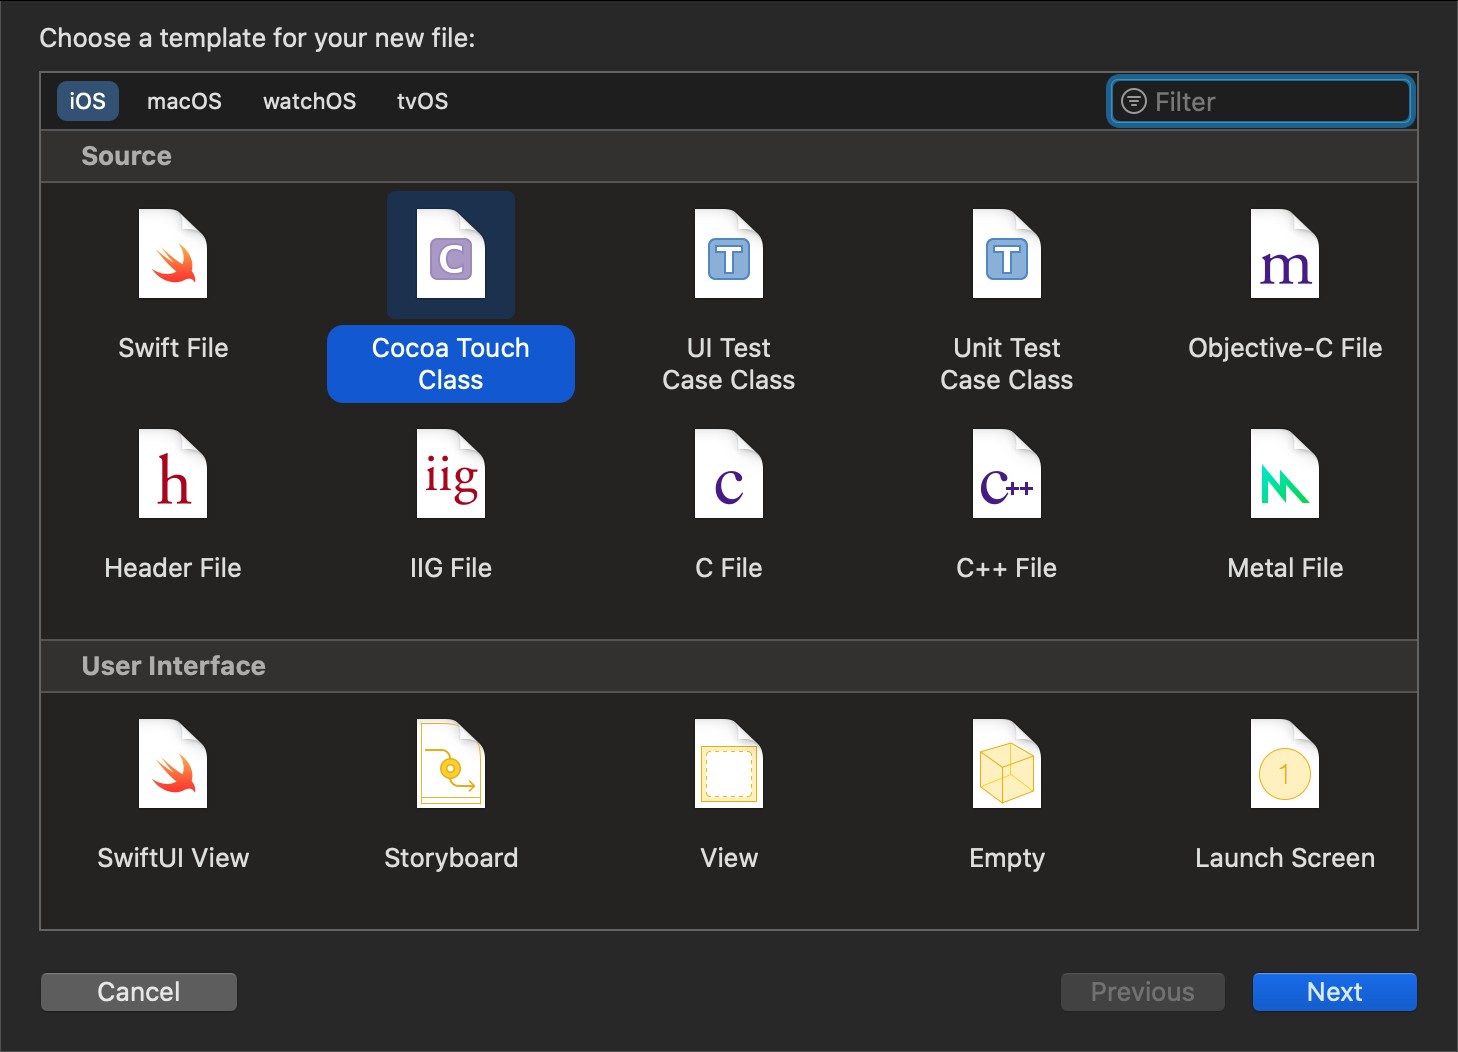
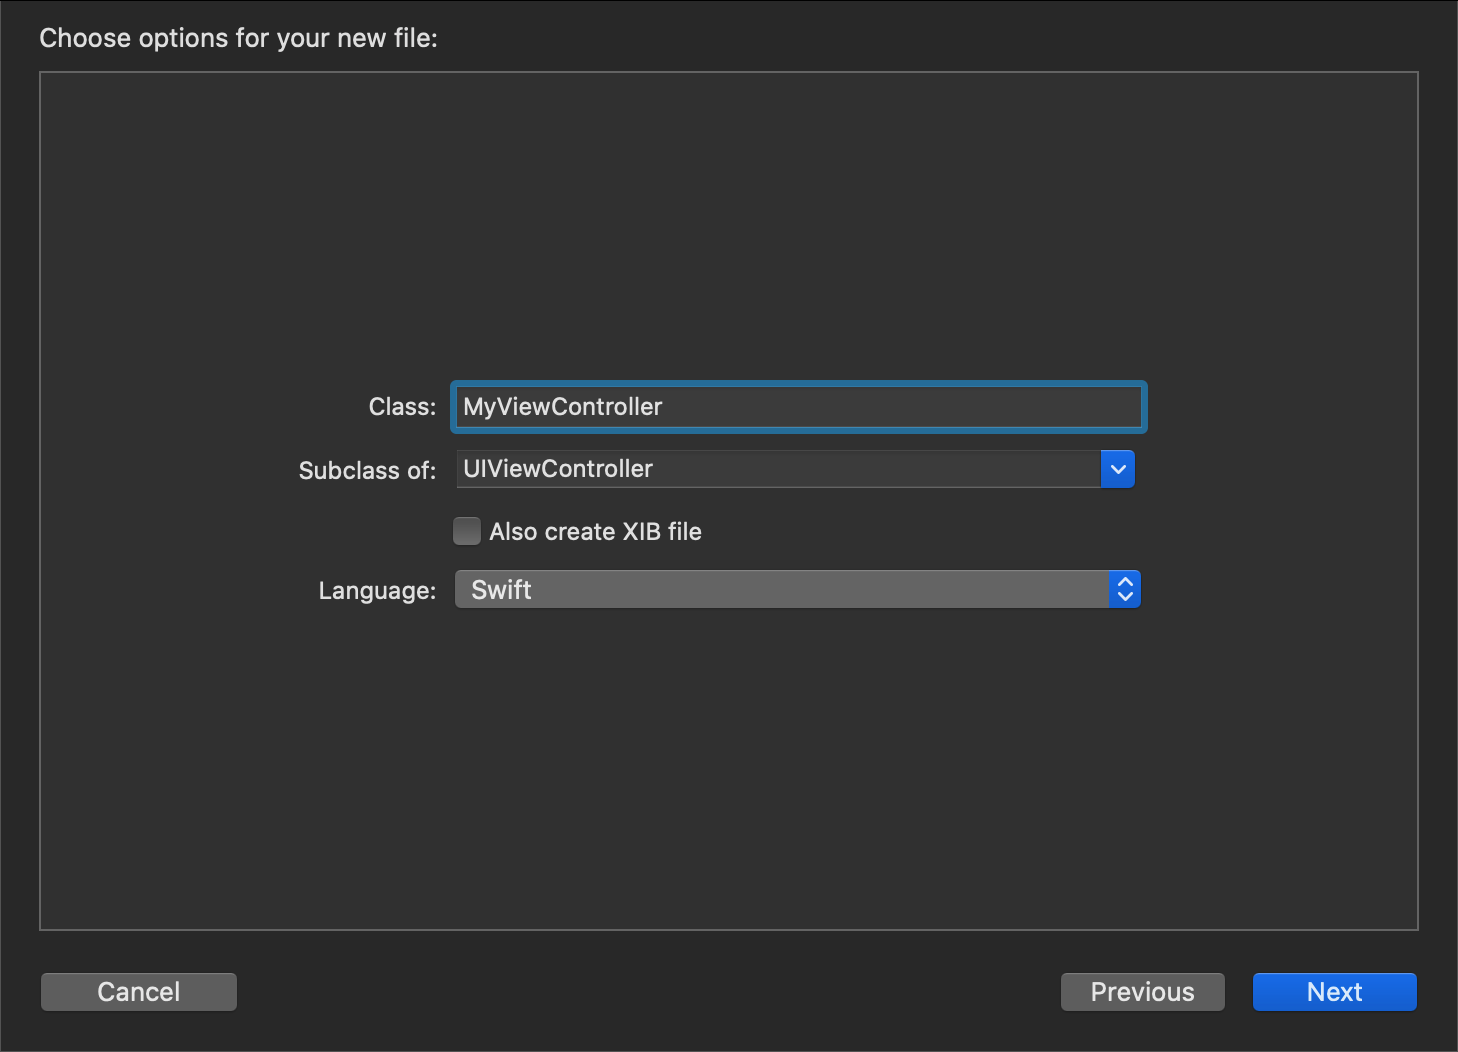
First, create a MyViewController.swift file by opening Xcode, right-clicking on the App group (under the App target), selecting New File... from the context menu, choosing Cocoa Touch Class in the window, set the Subclass of: to UIViewController in the next screen, and save the file.
Edit Main.storyboard
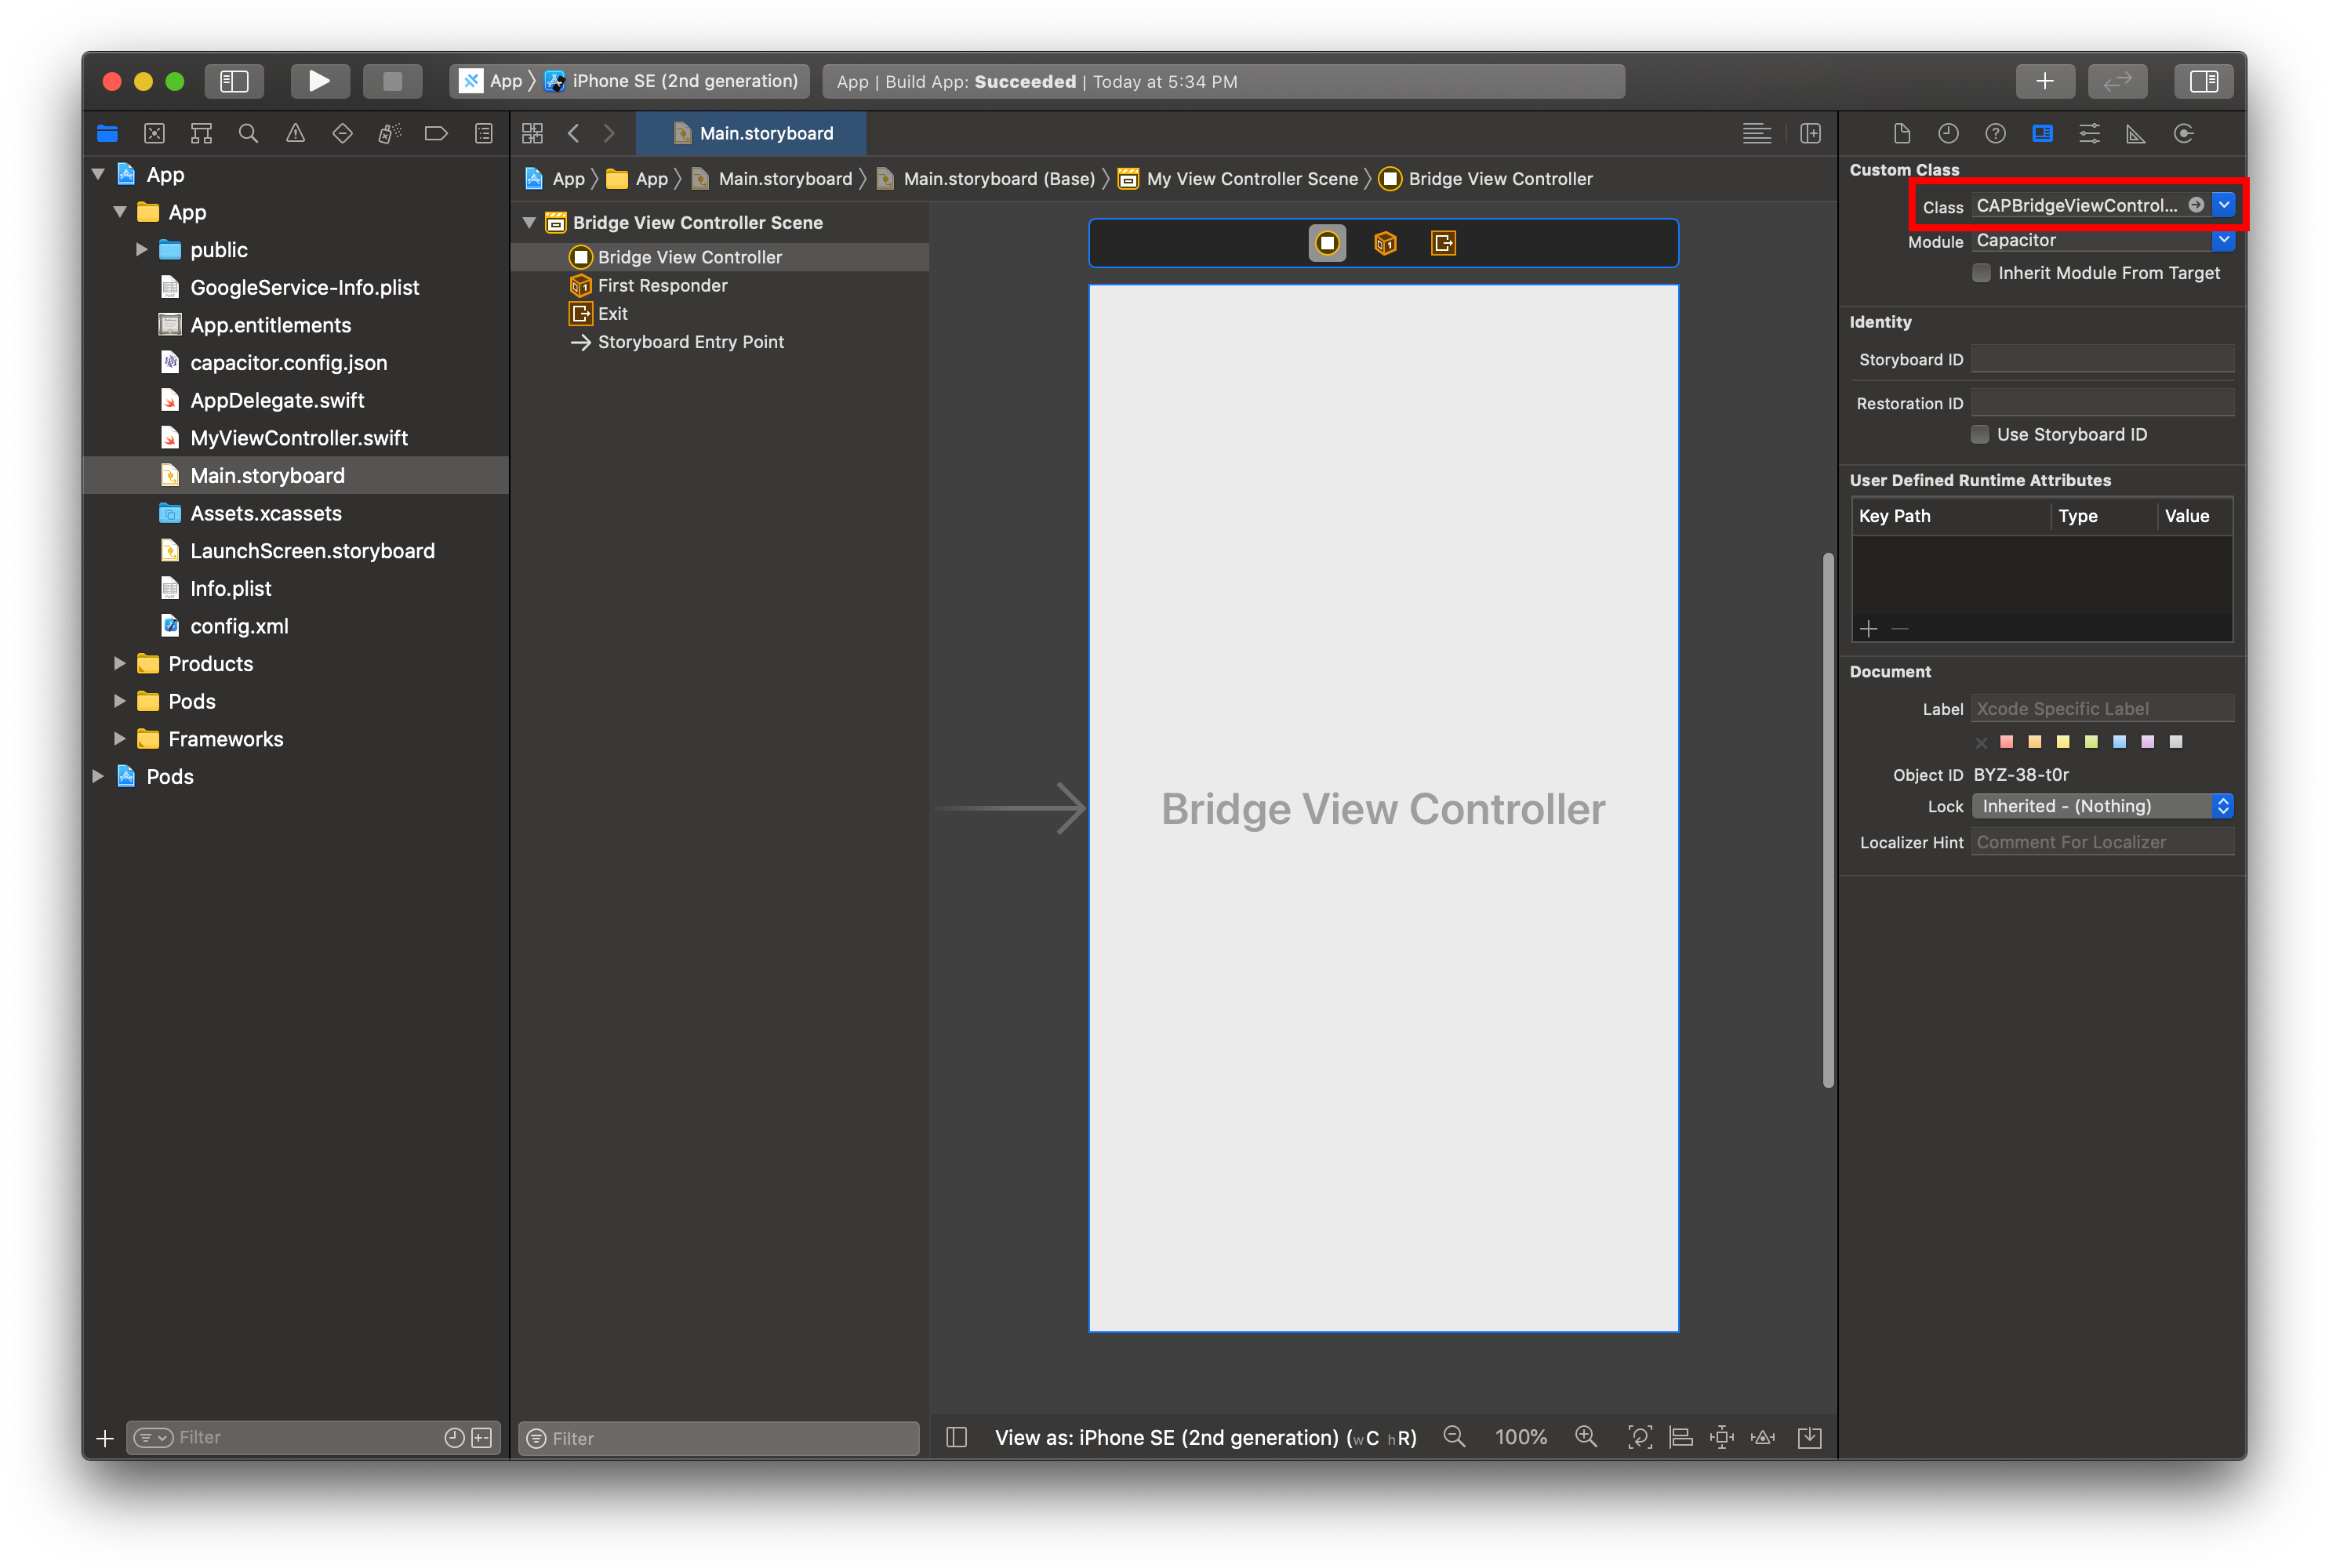
Next, select the Main.storyboard file in the Project Navigator, select the Bridge View Controller in the Bridge View Controller Scene, select the Identity Inspector on the right, and change the name of the custom class to MyViewController.
Edit MyViewController.swift
Finally, select the MyViewController.swift file in the Project Navigator and edit it to import Capacitor and change the parent class:
import UIKit
import Capacitor

class MyViewController: CAPBridgeViewController {
    // additional code
}
You're done!
Next Steps
Xcode should have already created a viewDidLoad() method for you when it generated the file but look over the inline documentation in CAPBridgeViewController to find the Capacitor-specific methods you might need. Anything marked open is explicitly exposed for subclasses to override.