カスタム ViewController
Capacitor 3.0 では、アプリケーション内で CAPBridgeViewController をサブクラス化できるようになりました。ほとんどのアプリケーションはこの機能を必要としませんが、いくつかの特殊なユースケースに対応するためのメカニズムがサポートされています。
サブクラスを作成する場合
サブクラス化が必要になる例としては、実行時にCapacitorの設定値をオーバーライドしたり、WKWebViewConfigurationのプロパティをしたり、[WKWebView](https://developer.apple. com/documentation/webkit/wkwebview))を使用したり、viewDidLoad()にコードを追加��することを提案するサードパーティSDKを統合する、画面に表示される前にネイティブビューを操作する、または カスタムプラグインを登録する 場合があります。
カスタムサブクラスを作成する必要がある場合は、いくつかの手順があります。
MyViewController.swift を作成する
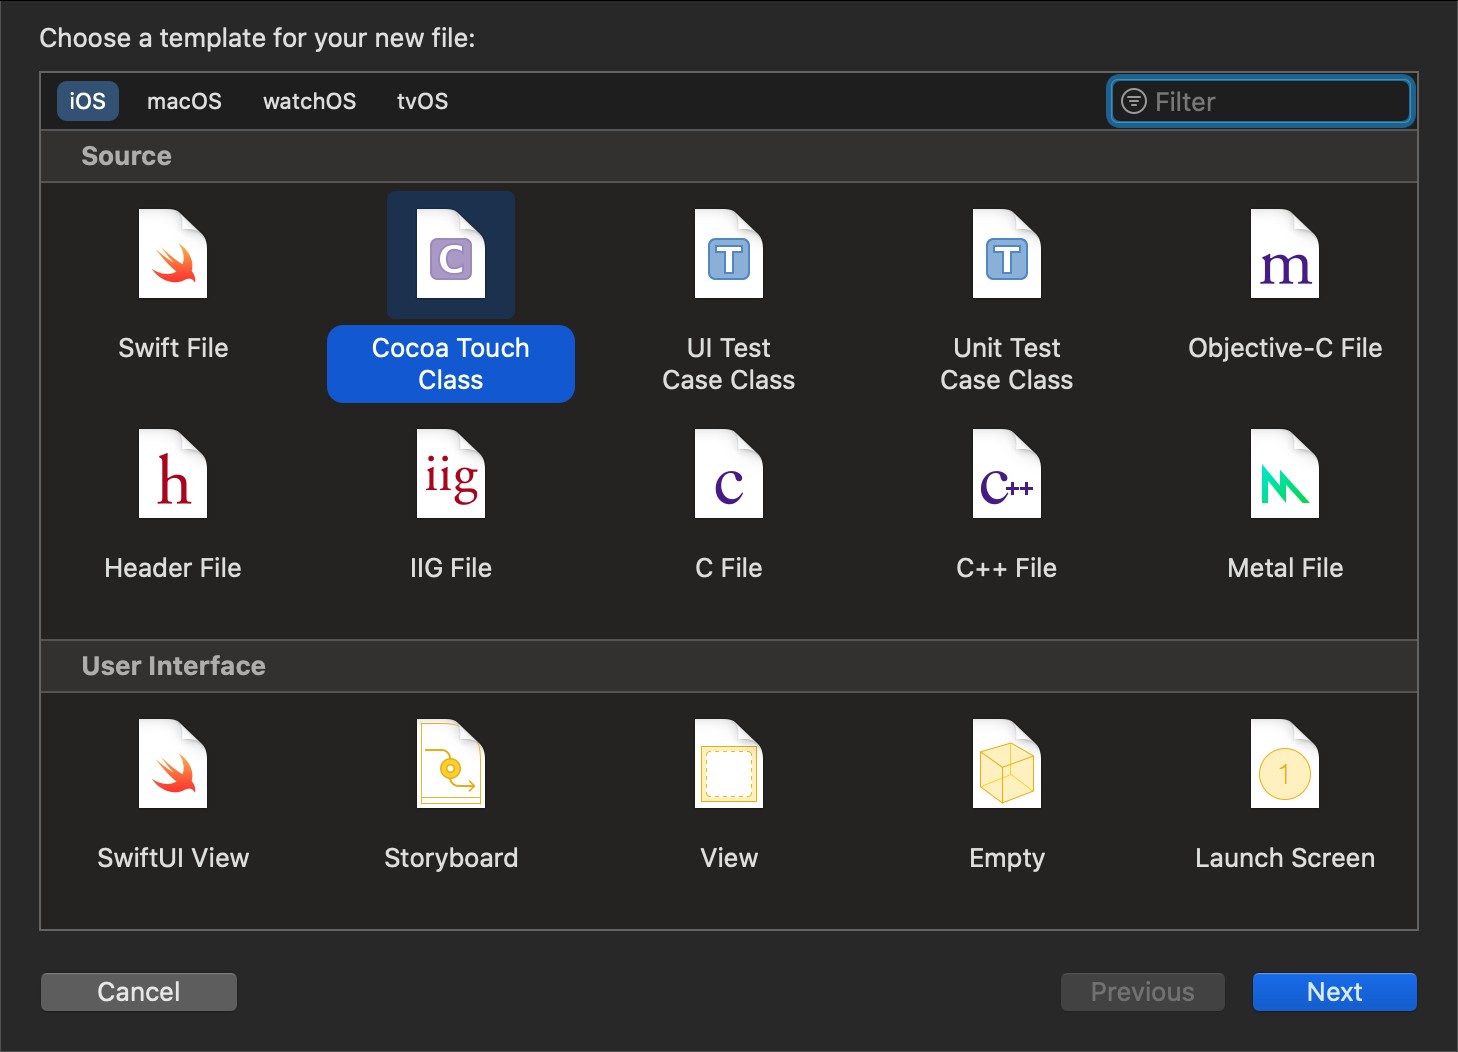
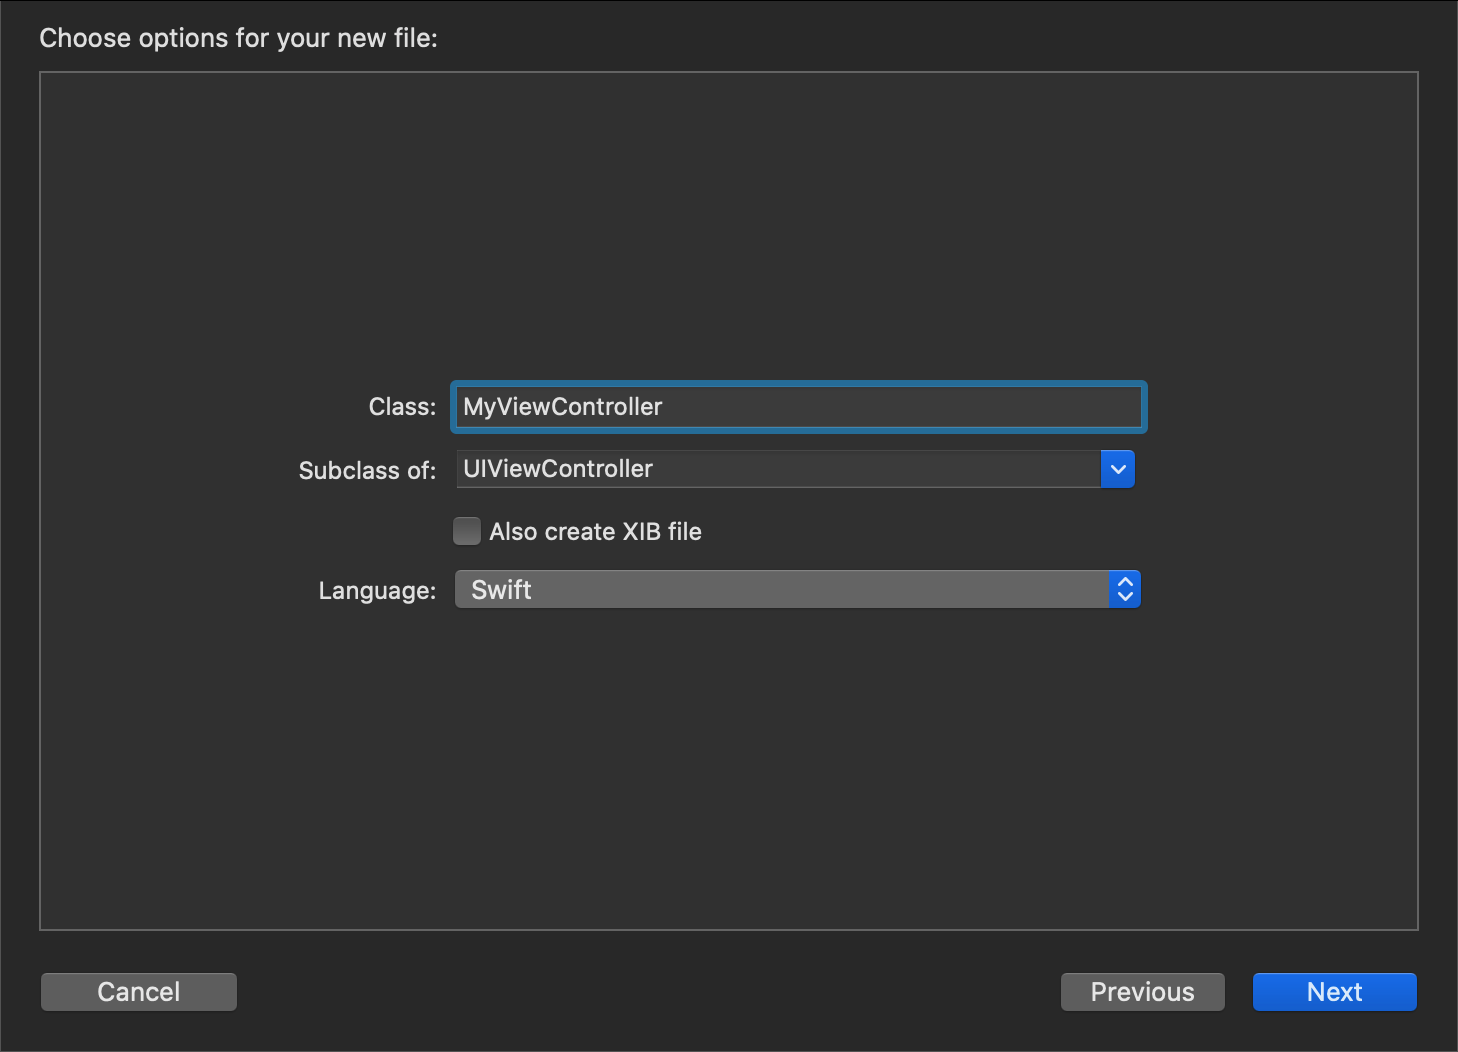
まず、Xcodeを開いて、Appグループ(Appターゲットの下)を右クリックし、コンテキストメニューからNew File...を選択し、ウィンドウでCocoa Touch Classを選択し、次の画面で**Subclass of:**をUIViewControllerに設定し、ファイルを保存します。
Main.storyboard を編集する
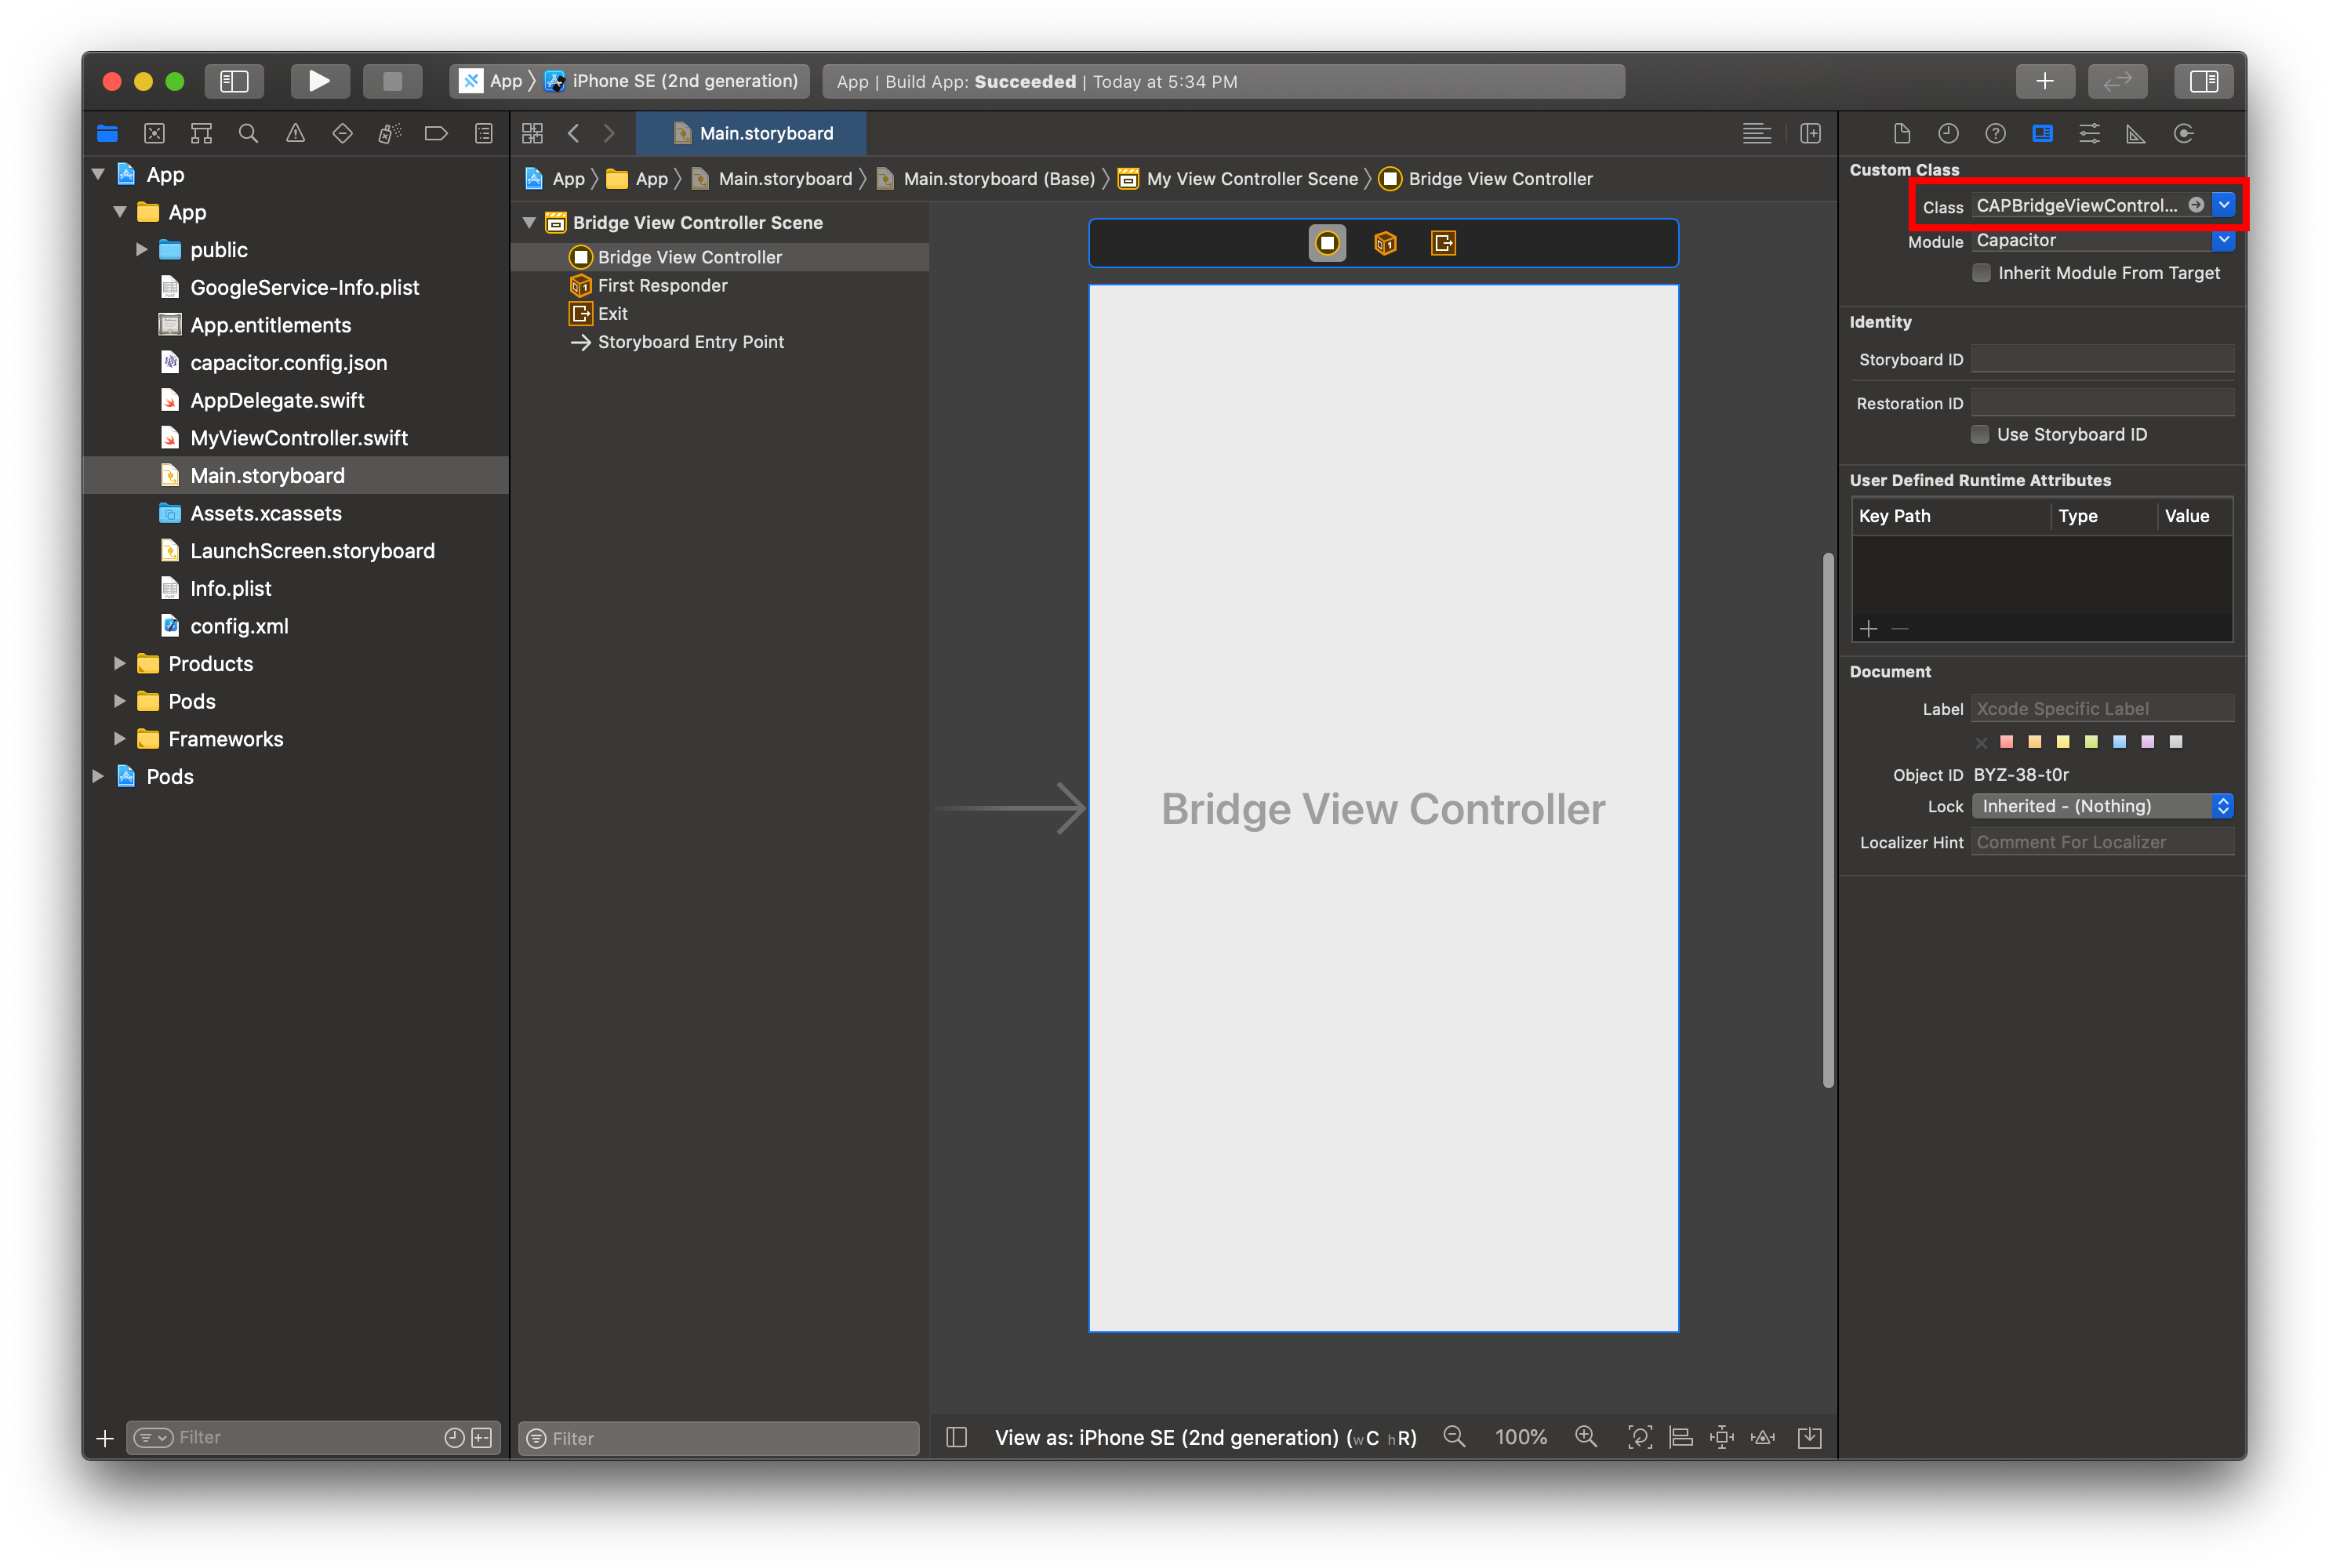
次に、プロジェクトナビゲータでMain.storyboardファイルを選択し、Bridge View ControllerシーンのBridge View Controllerを選択し、右側のIdentity Inspectorを選択し、カスタムクラスの名前をMyViewControllerに変更します。
MyViewController.swift を編集する
最後に、プロジェクトナビゲータでMyViewController.swiftファイルを選択し、Capacitorをインポートし、親クラスを変更します。
import UIKit
import Capacitor

class MyViewController: CAPBridgeViewController {
    // additional code
}
これで完了です!
次のステップ
Xcodeはファイルを生成したときにviewDidLoad()メソッドを既に作成しているはずですが、CAPBridgeViewControllerのインラインドキュメントを確認して、必要なCapacitor固有のメソッドを見つけてください。openとマークされているものは、サブクラスがオーバーライドするために明示的に公開されています。