PWA Elements
Capacitor のプラグインの中には、CameraやToastのように、ネイティブで動作していないときにウェブベースの UI を利用できるものがあります。例えば、Camera.getPhoto()を呼び出すと、ウェブ上で動作しているときに、レスポンシブな写真撮影エクスペリエンスをロードします:
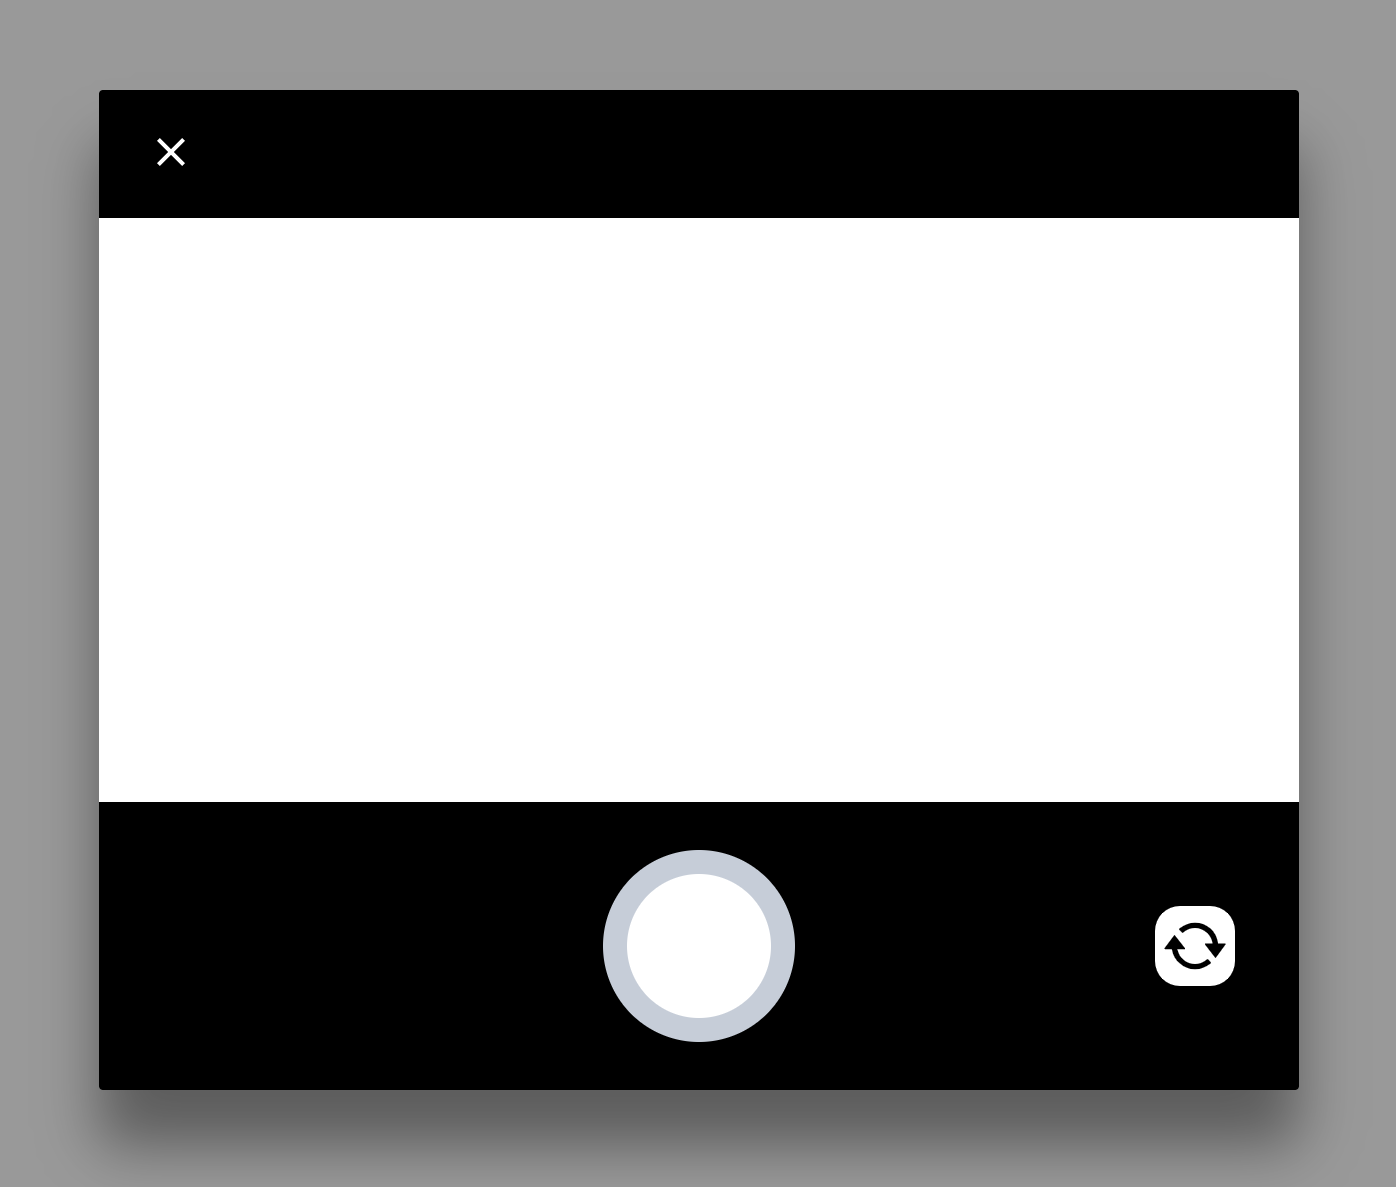
この UI は、Web コンポーネントを使って実装されています。Shadow DOM の魔法により、これらのコンポーネントは、あなた自身の UI と あなた自身の UI と衝突しないようにします。
Installation
To enable these controls, you must add @ionic/pwa-elements to your app.
A typical installation involves importing the package and registering the elements, or adding a script tag to the <head> of the index.html for your app:
Importing PWA Elements
npm install @ionic/pwa-elements
Then, depending on your framework of choice, import the element loader and call it at the correct time:
React
main.tsx or index.tsx or index.js:
import { defineCustomElements } from '@ionic/pwa-elements/loader';

// Call the element loader before the render call
defineCustomElements(window);
Vue
main.ts:
// Above the createApp() line
import { defineCustomElements } from '@ionic/pwa-elements/loader';
defineCustomElements(window);
Angular
main.ts:
import { defineCustomElements } from '@ionic/pwa-elements/loader';
// Call the element loader before the bootstrapModule/bootstrapApplication call
defineCustomElements(window);
if (environment.production) {
  enableProdMode();
}
Including through script tag
PWA Elements can be included through a script tag in your index.html. However, keep in mind this will not work for offline scenarios:
<script
  type="module"
  src="https://unpkg.com/@ionic/pwa-elements@latest/dist/ionicpwaelements/ionicpwaelements.esm.js"
></script>
<script
  nomodule
  src="https://unpkg.com/@ionic/pwa-elements@latest/dist/ionicpwaelements/ionicpwaelements.js"
></script>